

Have you seen pom pom garlands around the web or for sale in your favorite interior design store? I set out to make one of these for my office and one for at home. Since I knew this project would take careful effort and hours to make, I chose the word "celebrate" so I could use it for any holiday or occasion.
Materials I used:
old cardboard box
ruler
pen
scissors
hot glue gun and glue
pom poms (I used 2 packs of 300 poms per banner)
twine

For my office banner, I drew and cut out six 9" x 6" letters. For the "celebrate" banner (nine letters), I made 6 1/2" x 5 1/2" letters. If you wondered, that adds up to about the same surface area. My measurements, markings, etc. got more precise as I went.

Cutting out cardboard was the hardest part! I may have some nerve damage in the heel of my hand now, but I don't think that anything thinner would be sturdy enough to support all of the glue and poms.


I tried to balance out the placement of the larger poms then fill in with smaller ones. I squeezed a dot of glue on the cardboard then stuck on each pom and held for a few seconds. I DID NOT get burned, and I have not had a single pom fall off yet, so I recommend that technique.

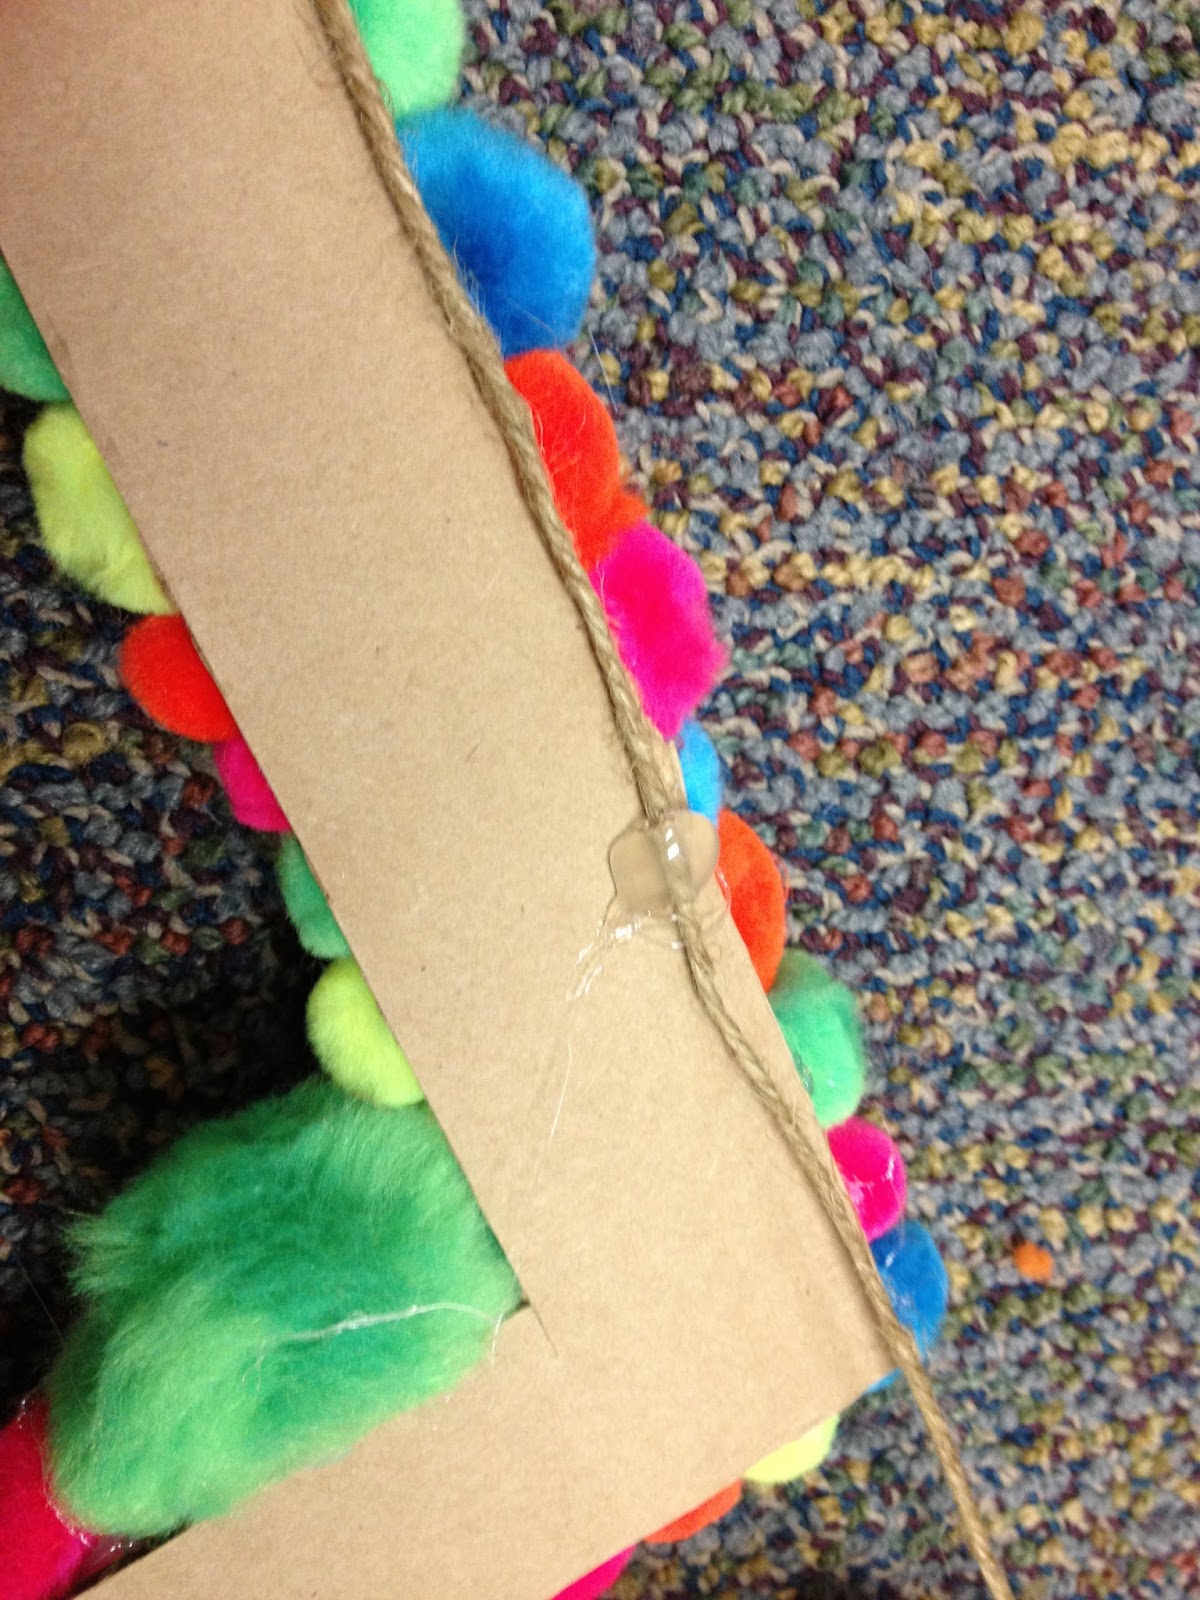

I squeezed a big dot of glue on each top corner of each letter, placed on the twine, and squeezed more glue on top of the twine. I held the twine in place for a few seconds so it wouldn't move and pull the glue. Watch to make sure you space the letters about evenly (wishing I had measured that ...). Also make sure you don't glue onto tape! Pull any tape off of the cardboard before you glue.

My finished garland is ready for our next party.
Great DIY!
ReplyDeleteLauren,
http://atouchofsoutherngrace.blogspot.com/