Showing posts with label crafts. Show all posts

angel ornaments

Monday, December 9, 2013

I signed up for Southern Weddings Magazine's ornament exchange this year for the first time.  I thought about what I wanted to make ahead of time, but I changed my mind a few times based on what I could find at the craft store and what would be least likely to break in the mail.  


I settled on some kind of angel using a pine cone then searched my backyard.  I glued bows on for the wings and pom poms for the heads.  These reindeer are adorable, but I wanted to make something related to the true meaning of Christmas.  A friend gave me a slip of paper with a verse she was attaching to ornaments, so I used the same verse and printed it on card stock to attach with twine for hanging the ornament.  

But the angel said to them, "Do not be afraid. I bring you good news that will cause great joy for all the people. Today in the town of David a Savior has been born to you; he is the Messiah, the Lord."


Each one was a little different, but it was a simple craft that made a sweet ornament to send to my swap partners.

Have you participated in an ornament exchange?  What kind of ornaments have you made?

oh boy! cake banner

Friday, October 11, 2013


Since I'm no expert at decorating a cake with frosting, I like the idea of cake banners.  Plus, how great is it that you can reuse the banner?!  I think a "happy birthday" banner may be next -- or maybe I'll just copy my pom pom garland and make "celebrate" so that I can use it for any occasion!


I used scrap burlap that my mom had left after making candy corn garlands.  I made a template on wrapping paper (card stock would be even better) and traced seven flags onto the burlap.


I cut out the flags and flipped them over in case any marks were left from tracing.  Permanent marker did not bleed through.


I drew some letters then decided I would rather draw them backward instead of cutting them out, flipping, tracing, and cutting again.  I was afraid cutting out the centers would ruin my work, so I left them without holes in the middle.  These letters are pretty tiny, and I didn't have a knife blade/razor handy.


I hot glued the letters onto the banner, using tweezers to place on the smallest pieces.  Once dry, I flipped them over, reversed them in order (important!), and hot glued onto twine.  I used fray check to attempt to keep the ends of the burlap from fraying and shedding onto the cake.


I tied the twine around bamboo skewers and slid them right into the cake.


The chocolate pound cake with Mom Mom's icing will be up soon!

How do you like to decorate cakes?  What's your favorite cake recipe?

making a pom pom banner

Wednesday, September 18, 2013


Have you seen pom pom garlands around the web or for sale in your favorite interior design store?  I set out to make one of these for my office and one for at home.  Since I knew this project would take careful effort and hours to make, I chose the word "celebrate" so I could use it for any holiday or occasion.

Materials I used:
old cardboard box
ruler
pen
scissors
hot glue gun and glue
pom poms (I used 2 packs of 300 poms per banner)
twine


For my office banner, I drew and cut out six 9" x 6" letters.  For the "celebrate" banner (nine letters), I made 6 1/2" x 5 1/2" letters.  If you wondered, that adds up to about the same surface area.  My measurements, markings, etc. got more precise as I went.  


Cutting out cardboard was the hardest part!  I may have some nerve damage in the heel of my hand now, but I don't think that anything thinner would be sturdy enough to support all of the glue and poms.  


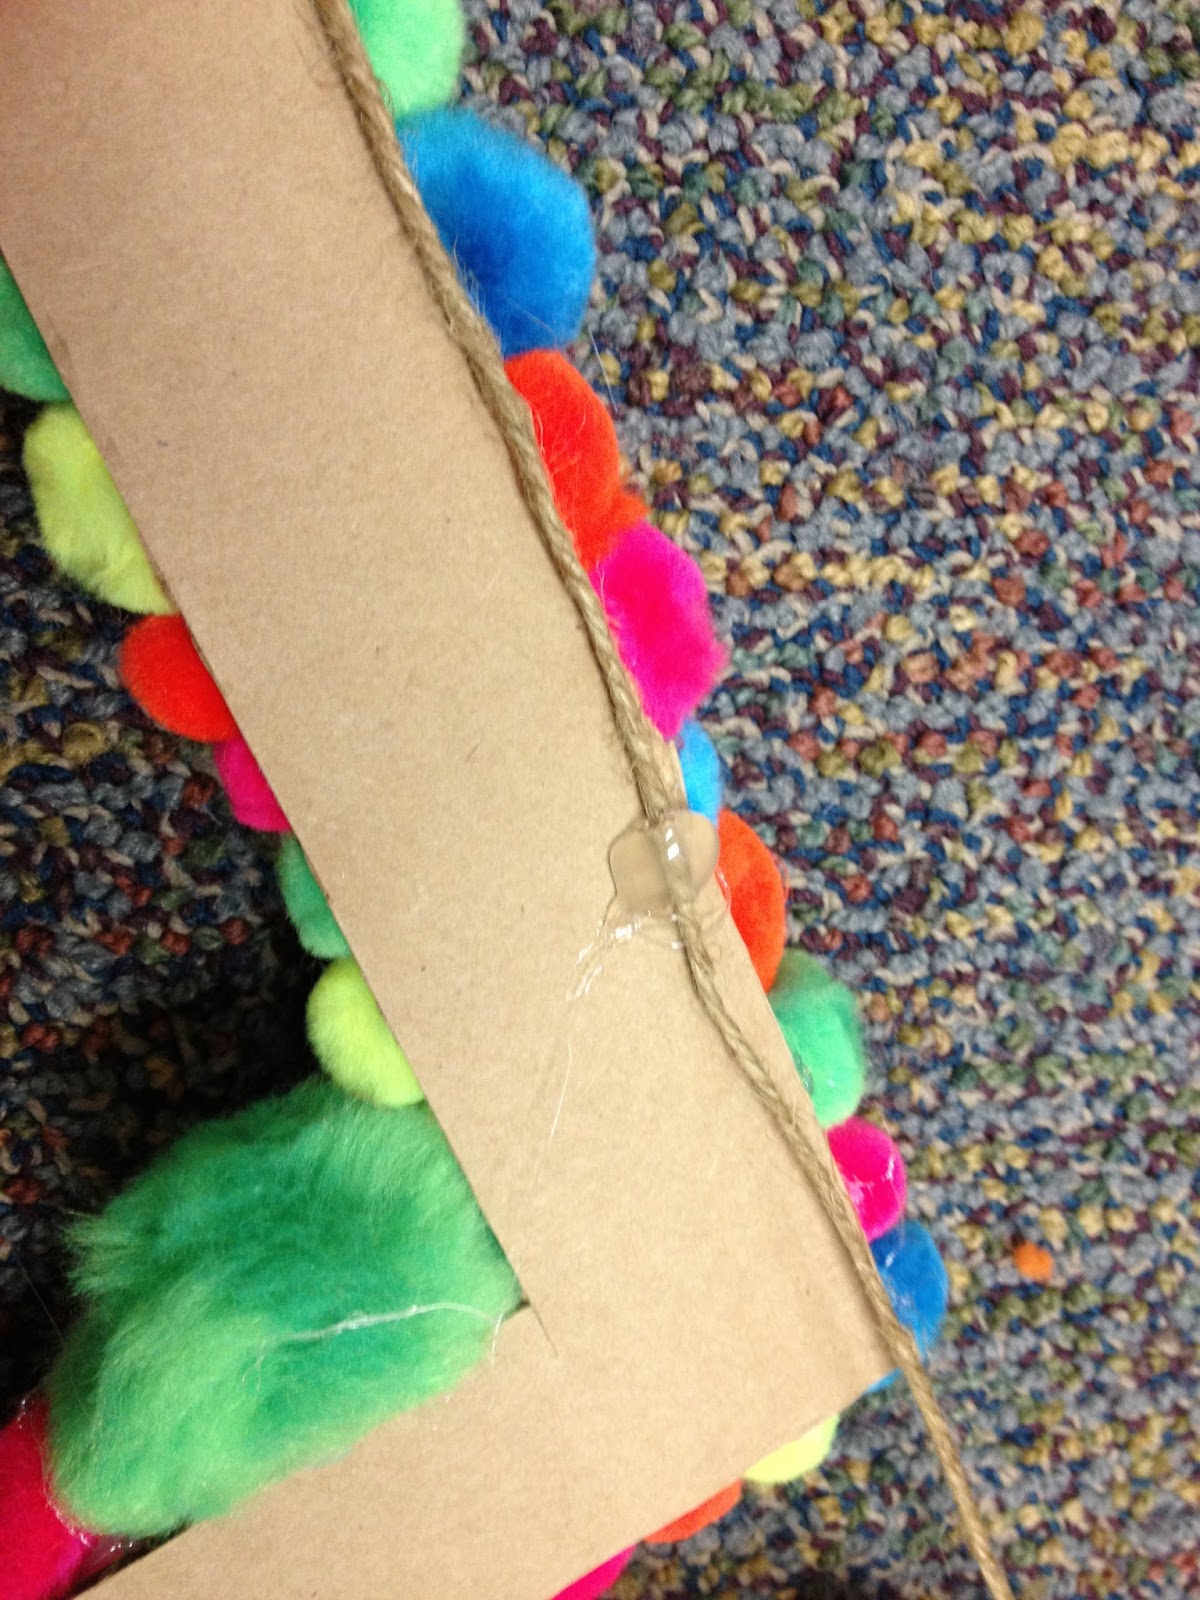
I tried to balance out the placement of the larger poms then fill in with smaller ones.  I squeezed a dot of glue on the cardboard then stuck on each pom and held for a few seconds.  I DID NOT get burned, and I have not had a single pom fall off yet, so I recommend that technique.  


I squeezed a big dot of glue on each top corner of each letter, placed on the twine, and squeezed more glue on top of the twine.  I held the twine in place for a few seconds so it wouldn't move and pull the glue.  Watch to make sure you space the letters about evenly (wishing I had measured that ...).  Also make sure you don't glue onto tape!  Pull any tape off of the cardboard before you glue.  


My finished garland is ready for our next party.

cornhole boards

Thursday, August 22, 2013

About a year ago, I won a wonderful giveaway--a set of SC Cornhole Games boards from Southern Weddings magazine!  Somehow I missed that the cornhole set was supposed to be for your wedding, but they sent two plain white boards and my color choice of weather-resistant bags right to my house.  You can see the post announcing the winners here.  I changed up the designs slightly, but still I ended up with something pretty similar to what I wrote about in my giveaway entry.  


The light blue board is for Carolina, and the quatrefoil shape represents my sorority, painted in one of our colors, rose.  I couldn't convince my mom to freehand my monogram on the board, but she did create stencils for me.  


I painted my home state in gold on purple, for East Carolina.  When I found these paint colors after looking and looking at many colors, I knew they were just right.  


Here is a basic step-by-step process:
1. Get prepared by picking out and purchasing paint colors and brushes.  I used a few different sizes of brushes and also rollers.  I think high gloss paints look best for this project, but I was more concerned about finding the right color than the right finish, so mine were different levels of gloss.
2. Paint several coats of the base colors.  Doing a final coat with a roller will make it look much smoother.
3. Create stencils for your designs.  I found images on my computer and projected them onto my tv, much like for my cooler project.  I actually used interfacing (for sewing) to make stencils because it is somewhat transparent but also sturdy.  I taped a close-to-size piece of interfacing to the screen, traced using a permanent marker, then cut out the shape.  I used painter's tape to attach the interfacing to my tv and to the boards.  It peeled off of the interfacing easily when I moved it so I could trace every part of the edge.  I used pencil to trace the stencils onto the boards.
4. Paint several coats of each layer of your designs.  I painted carefully around the edges of the designs then filled in the inside, several times each.
5. Seal the paint if you're brave.  I purchased a spray sealer that I still have not used because I have heard that it may puddle or bubble up on top of the paint.  I haven't used my boards very roughly, either, though, so I am not sure how much they would get scratched with use.


Have you painted your own cornhole boards?  Any cornhole playing tips?  I am terrible at the game but am mostly concerned about having the prettiest boards.


Keep up with me on:

CRAFTING: cooler painting

Wednesday, May 8, 2013

If you know my mom, you know that she is quite an artist.  She went to school for art education, she taught art, and if you remember the late eighties/early nineties, you may remember Nancy's Fancies.  I can't believe I just wrote "Nancy's Fancies" on the internet.  What a time warp.  Now, Mom makes wreaths, jewelry, smocked dresses, and more.  How could I forget she basically makes bowties and skirts full time these days?!

I have definitely inherited my mom's interest in arts and crafts, though probably only a fraction of her skill.  I may have pulled out her giant caddy of acrylic paints from her giant closet in her sewing room (yep, separate room for sewing) for this project.  I made the cooler per B's request for Valentine's day/his birthday, although it got to him a couple of months late.  I suggest waiting for warm weather so you can cooler paint outside!  Beautiful weather and good music made my project go much faster and smoother.

I'd like to share some information on how I painted this cooler in case anyone is interested in making one of her own.

1. I primed with Krylon Fusion spray paint for plastic.  I used white because I knew I'd be painting each surface a different color.
Actually, before step 1, I spackled and sanded a logo that was on the flag side.  Since I knew that part would be a solid color and not be hidden by a design, I wanted it to be flat and smooth.

2. I taped off the edges I wanted to be white and taped the corners to separate the colors.  I knew I would go back and paint bows on the corners, so I wasn't concerned about the strip the tape would leave unpainted.
However, it was a bit of work to move the tape to get the colors to meet on the flag.  FYI painter's tape does not always lift off cleanly from a plastic surface, especially when kept in place for months.


3. After the backgrounds were painted solid, I started on the designs.  Of course you'll need to plan out what you want to paint.  I traced the designs I chose by pulling up images on my computer.  I hooked my computer up to my TV to see them on a larger scale, and I traced onto tissue paper with pencil.  


4. I taped the tissue onto the cooler and traced over my pencil lines with Sharpies or paint pens.  


5. I filled in the designs with paint pens and acrylic paints.  Is it just me, or are paint pens these days not what they used to be?!  I would suggest doing as much as you possibly can with acrylic paints.  It is easier to control a paint pen when it's working properly, but mine did not work consistently.  I also ended up going back and redoing with acrylic what I'd done first in paint pen because it looked splotchy or grainy.  


8. I patched chips and smudges (see above) then admired my finished product. 


9. I sprayed the whole thing with Mod Podge a few times.  Protect that hard work!
Related Posts Plugin for WordPress, Blogger...